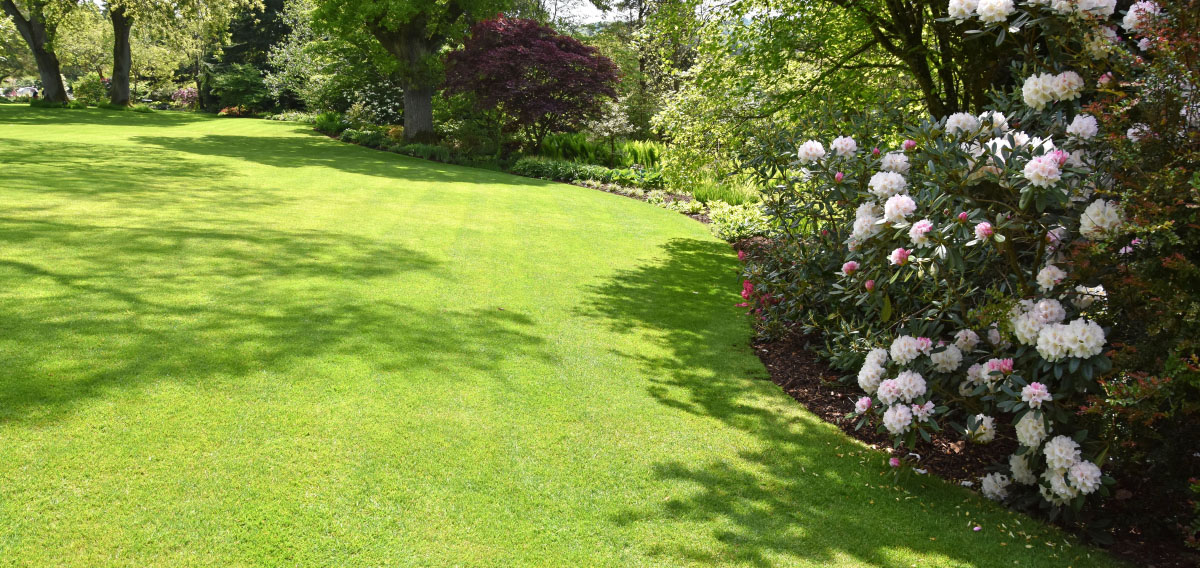
Garden envy begins with luscious green grass that can only be obtained by laying turf correctly, and we can show you how.
Taking on a big DIY project like laying a new lawn may seem a little daunting, but by breaking it down into easy to follow steps it will seem more manageable. Before you know it, you’ll have the best turf in town!

When to lay turf
For the best results you should typically revamp your garden in either spring or autumn as there’s a better balance of rain and sun during these two seasons, and that means nature will do more watering on your behalf. While lawn turf can be laid out of season successfully, the conditions will be less favourable which means you’ll have to work a little harder.
Another benefit of laying a lawn in spring and autumn is that the soil quality is ideal, with its soft texture making digging much easier. If soil is over-saturated with moisture or is too dry, it can be a pain to work with.
Measure, then measure again!
Of course, you’re not going to be able to order your turf until you know how big your lawn is going to be.
Top tip: to save having to convert your measurements, find out what measurements your supplier uses when selling their turf. More often than not turf is provided in square metres – for example, here at Greenvale we provide ours in 1m2 rolls.
Measuring a square or rectangular lawn
Lucky enough to be laying a square or rectangular shaped lawn? Simply measure the length and width of your garden using whichever unit of measurement you’ve settled on, then multiply the two to find the area of your garden. It really is that straight-forward.
Measuring a circular lawn
Or maybe you’re being a bit more adventurous and you’re laying a circular lawn. You know when you moaned about learning pi in your maths lessons, claiming you’d never even use it? Well, all those maths lessons have led you to this moment in life!
Once again, measure using the same unit of measurement as your turf supplier. First you need to measure a straight line from the outside of the circle to the centre – that’s your radius. Then multiply this value by itself. Next, multiply the value by pi (3.142). You now have the area of your circular lawn.
For those irregular shaped lawns, split the garden up into smaller squares and measure each of those by following the first method, before adding the figures together to arrive at the total area of the lawn.
Top tip: add a few extra rolls of turf to your order just in case your measurements are a bit out, and do remember to allow for cutting/wastage.
Choosing the right turf
Your choice of turf will depend on what you use your garden for.
If you’ve got little people running up and down with a football whilst you wait with baited breath for them to kick it over into the neighbours garden for the millionth time, then you’ll need to go for the hard-wearing option.
Opt for a turf that’s ryegrass-based because this will prove to be the most durable (i.e pet and child friendly), and it’s typically the easiest to maintain.
Or perhaps your garden serves a more ornamental purpose, to look beautiful and impress passers by? In this case, choose a turf with more fescue grasses than ryegrass. This type of turf is higher maintenance but the extra effort will certainly be worth it if you’re aiming for a pristine, elegant garden.
It’s all in the prep
Ground preparation entails improving the soil condition to ensure your lawn turf thrives from the moment it’s been laid.
You must invest time into preparing your ground before you receive your turf – you really do need a bit of patience (cue Take That).
1. Source your tools
It’s vital that you have the right equipment to hand before your turf is delivered, since the turf can discolour if not laid within a day or so of delivery.
You’re going to need:
- A sharp spade or a turf cutting tool (can be hired from a local tool shop)
- A garden fork
- A rake
- A wheelbarrow
- A hose pipe or watering can
- A sharp knife or a edge trimmer
- A pair of gardening gloves
- Turfing boards/scaffolding planks
- A hand saw
- Topsoil (if required)
- Pre-turf fertiliser
- …and maybe an extra pair of hands to get the job done faster and spread the workload!
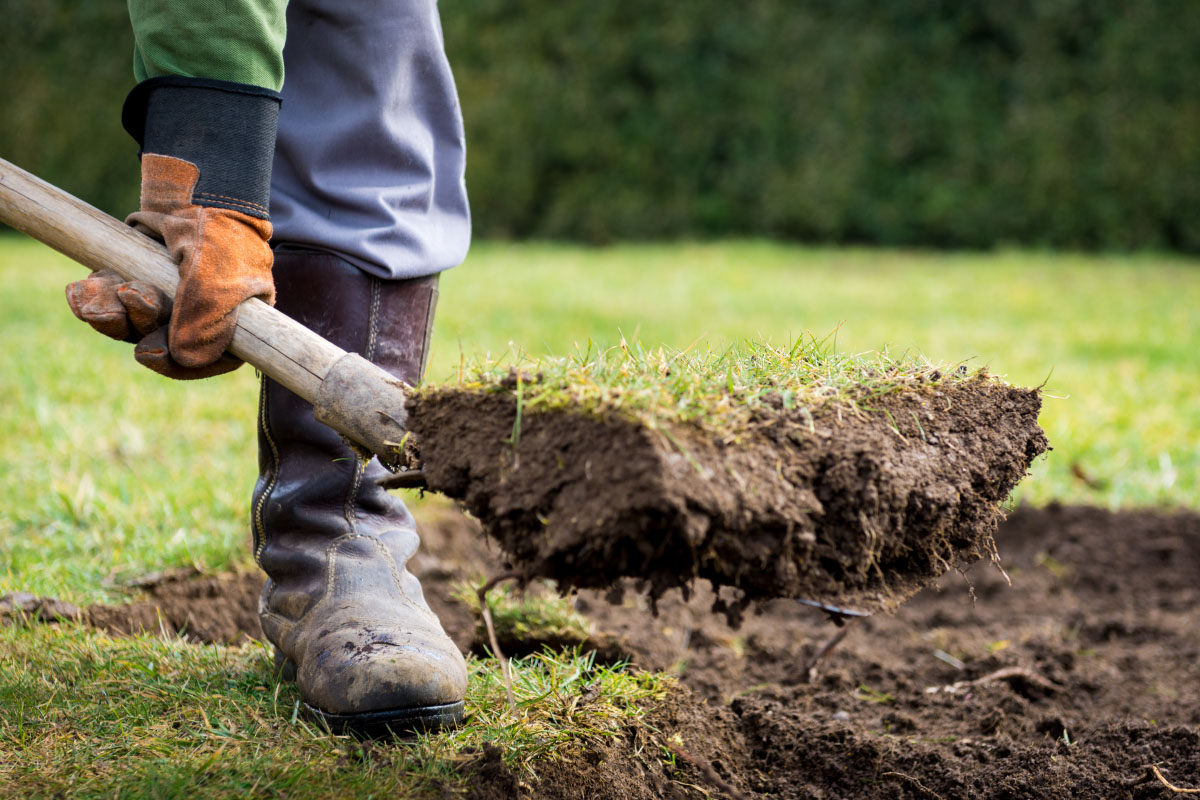
2. Remove the existing lawn
A perfect surface is one that’s level and free of any objects or debris that may hinder the turf from rooting properly.
If you have an existing lawn that needs to be removed and your garden isn’t too large, you can simply dig the turf up with a spade. Cut out small squares as you go, making sure you dig deep enough to remove the roots but not too deep that you need to invest in more sub-base further along in the process. The more people on hand, the quicker and easier this will be, and if you’re not used to manual labour it’s always nice to have someone else around to do the hard graft.
If your garden takes up a larger area you may want to hire a turf cutting machine from your local tool hire shop (unless you enjoy extreme manual labour as a pastime)!
3. Remove stones and weeds (if required)
Dig out any larger debris – you can use a garden sieve to separate stones from soil. If there are lots of weeds present you could apply weedkiller, but always follow the manufacturer’s instructions and unless you’re using a glyphosate-based product, make sure enough time passes before you lay the turf. Glyphosate is best suited to this scenario as it breaks down on contact with the soil without leaving a harmful residue.
4. Dig the soil to the correct depth
The soil should be cultivated well by turning it through with a fork, ensuring the topsoil meets a minimum depth of 15cm. If the existing soil does not meet this requirement you can purchase either normal topsoil or pre-turfing soil, which is designed to be the ideal sub-base for a new lawn due to the addition of pre-turf fertiliser and other nutrients.
If you’re using the existing sub-base or normal topsoil, spread a pre-turf fertiliser over the area to provide your new lawn with the nutrients it needs to get the best start in life.
The soil should be left to settle and given time for the weedkiller to do its thing. A few weeks is recommended for optimum results.
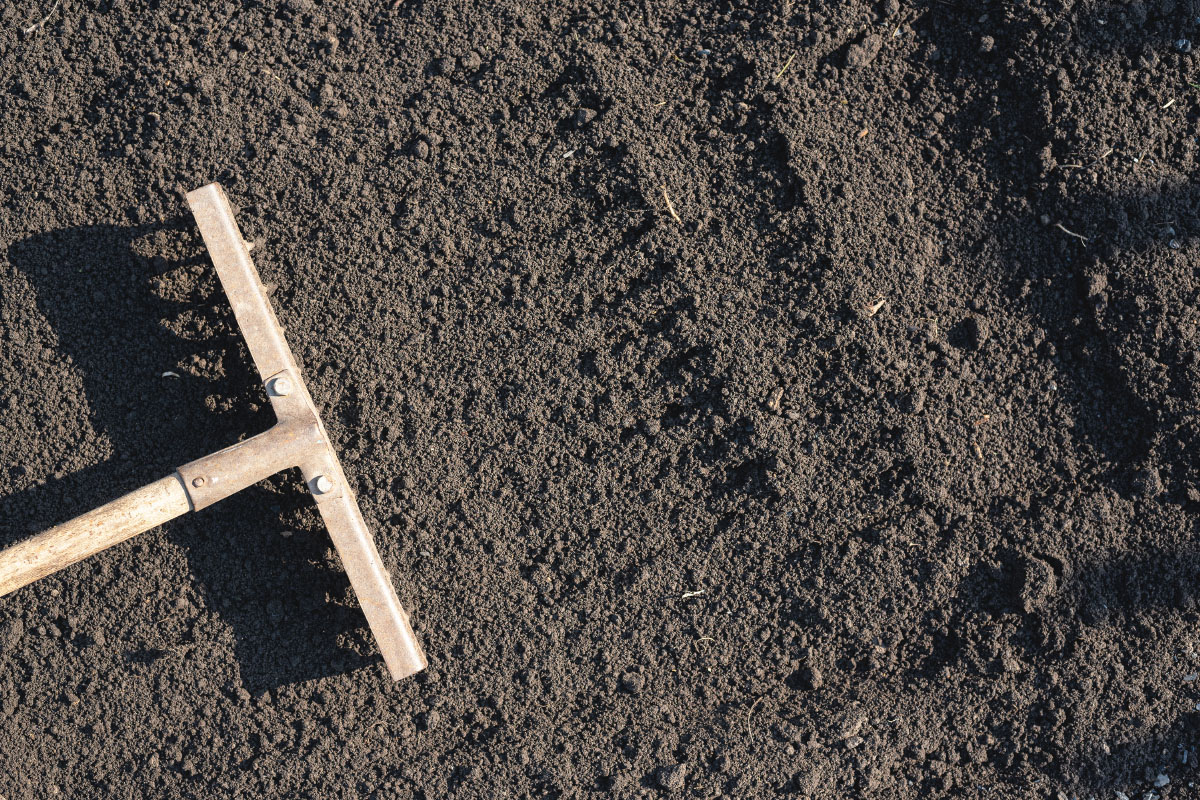
5. Rake the soil
It’s important to rake the soil several times in different directions. If any new weeds have sprouted, remove them.
As well as raking, you should walk slowly back and forth across the area. This will help create a level surface and remove any dips or bumps. An uneven surface is very difficult to mow, and we fight with our lawnmowers at the best of times so why make it any harder than it needs to be?
If your surface is particularly uneven you may wish to hire a hand roller to compact the sub-base as much as possible, filling any large dips with topsoil, before raking lightly prior to laying your new turf.
6. Order the turf
Once you’re happy that the surface is smooth, level and firm, you can finally order your turf! Do not place your order until the area is 100% prepared.
It may be worth checking the weather forecast to arrange a delivery day when it’s dry, as wandering around on a soil sub-base in the pouring rain isn’t much fun.
A few days before your turf is set to arrive, water the area to ensure the soil is moist. This provides the turf’s roots with water for growth, helping to ensure successful establishment. If you’re unable to lay your turf on the same day that it arrives, it’s vital that you keep it in a shaded area until you’re able to do so. You should also unroll the turf so that air is able to reach the grass.
However, the turf will begin to decompose the longer its left unlaid, so you MUST work as fast as you can. In the warmer months turf should be laid immediately for best results, whilst in autumn and winter the turf will be fine as long as it’s laid within a 24 hour period.
The final step before actually laying the turf is to once again rake the soil back and forth (from different directions).
How to lay turf
In theory this should be the easiest part of the process, as you’ve dealt with most of the hard work in the preparation. But you can’t rest just yet – there’s turf to be laid!
Step 1: Start from a straight edge of your garden, such as a border. If you don’t have a border you can use a plank to roll your turf out beside. For circular gardens, start from the middle and work your way out.
Lay out the first roll width ways, leaving some excess at the boundary of your garden as this can be trimmed back later to achieve a sharp finish.
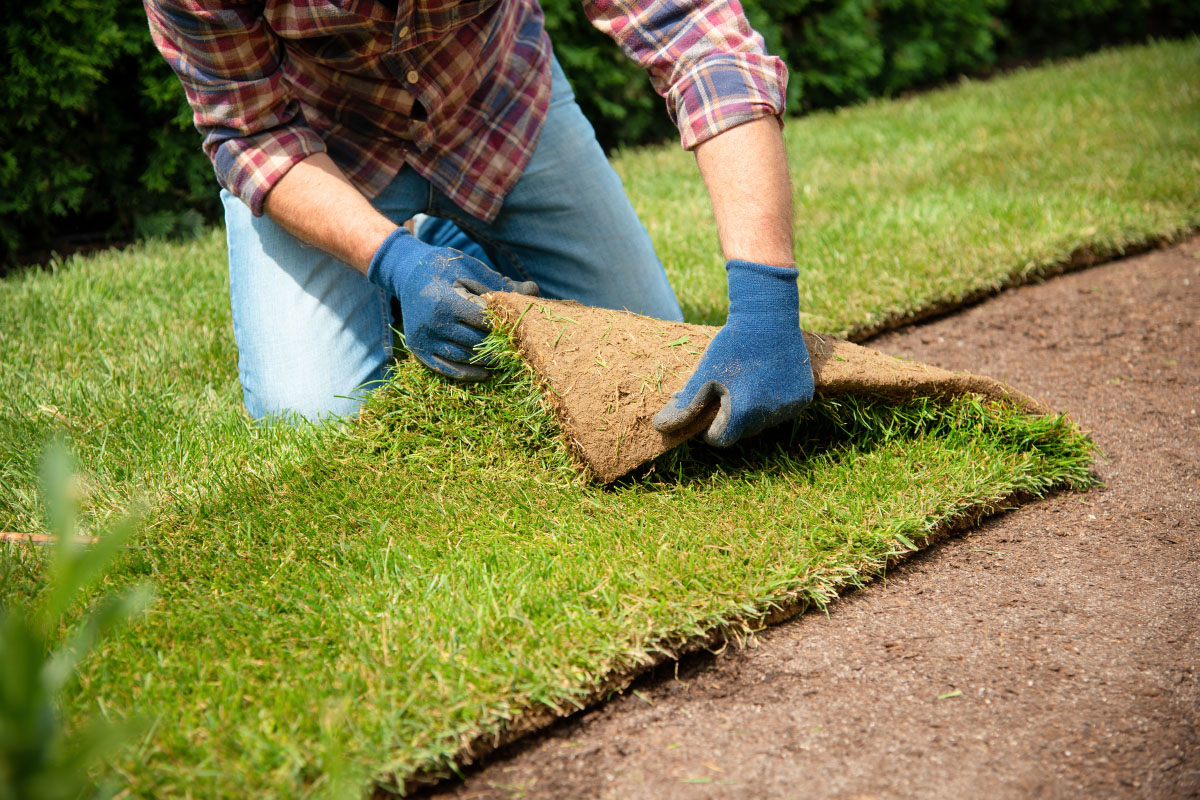
Step 2: Once laid, press gently in order that the turf makes contact with the soil, but be careful not to squish it too much.
Step 3: To avoid leaving footprints on your lawn put a board on top of the first roll – this is now your walkway.
Step 4: Lay the next roll directly after the first roll and so on, until you finish the whole row. Ensure the edges are closely placed together to avoid any gaps and continue to press gently down on each section of turf. If there’s any overlap use a sharp knife or spade to trim the turf.
Pro tip: if you have awkward edges to lay your turf around, take a hand saw and shape the turf carefully.
Step 5: Now that you’ve moved onto the next row, be sure to lay the rows out in a brickwork design. The edges at the ends of rolls should not align perfectly with the edges of the previous row. Instead, the pieces should be staggered to reduce the chance that the turf will dry out.
As you progress (and particularly if you have a large lawn), you may need more boards to act as walkways.
Step 6: Once all the rolls of turf have been laid you can focus on perfecting your new lawn. For clean edges where turf reaches your borders or paths, take a sharp knife or spade and cut off any excess.
Step 7: Next, take the back of your spade or a wooden plank and bang the turf gently to ensure the turf’s contact with the soil.
Step 8: The newly laid turf must be watered the same day that it’s been laid to help the roots establish themselves. If it’s a dry and hot day, water areas laid first to prevent them from drying out. The water should soak through to the soil below – check this by carefully peeling back a piece. Do not over water as your new lawn will quickly turn into a big muddy mess and too much moisture can rot the roots.
Final step: Pour yourself a brew – you deserve it!
Aftercare
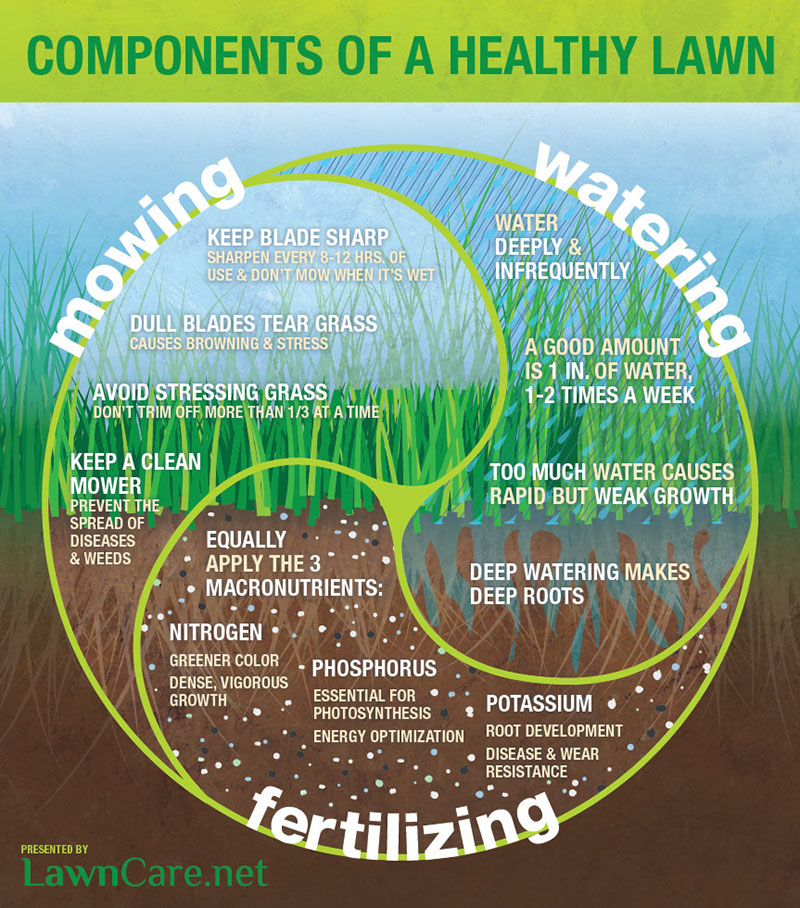
Aftercare is just as important as preparation if you hope to achieve terrific turf. Here are some top tips for watering, mowing and feeding your new lawn:
Watering
Your lawn needs to be watered frequently until it’s well established. For the first week, water twice a day during hot weather (unless there’s heavy rain forecast). Then reduce to around two to three times a week.
After around 4-6 weeks you can reduce the frequency of watering to once or twice a week. Check to see if your lawn has established by gently lifting a corner of turf – if you’re seeing new white roots then things are headed in the right direction.
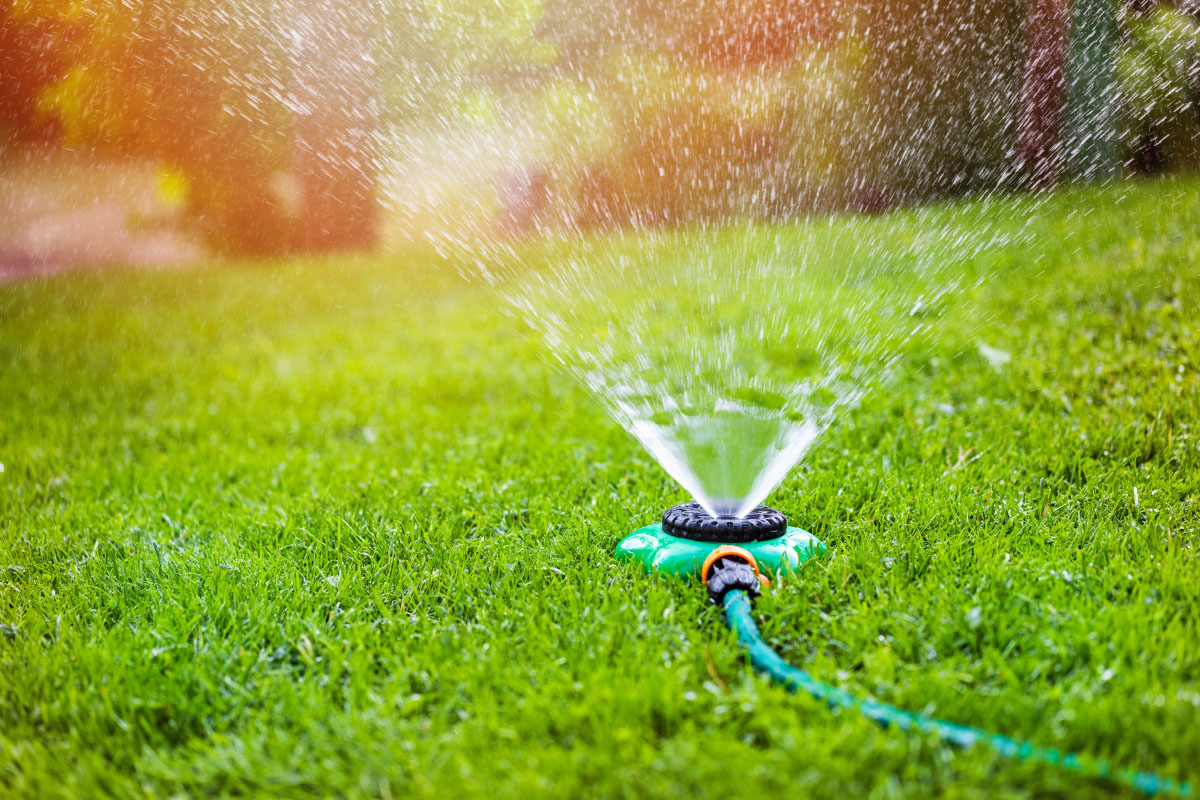
Make sure to water your turf either in the early morning or evening, so the sun doesn’t cause the water to evaporate before it’s able to pass through to the soil.
In the cooler spring and autumn months, your turf will need watering less often. Just once a day in the first 1-2 weeks is sufficient.
Laying turf in winter means a lot less effort is required in the watering department. Water well once laid and keep checking up on your new lawn to make sure it is not drying out!
Importantly, use your own judgement to determine whether your garden needs any extra watering – it should be fairly obvious if it’s too dry.
Mowing
Check that your turf has rooted before cutting your grass for the first time. Simply lift a corner to see if the roots have attached to the soil.
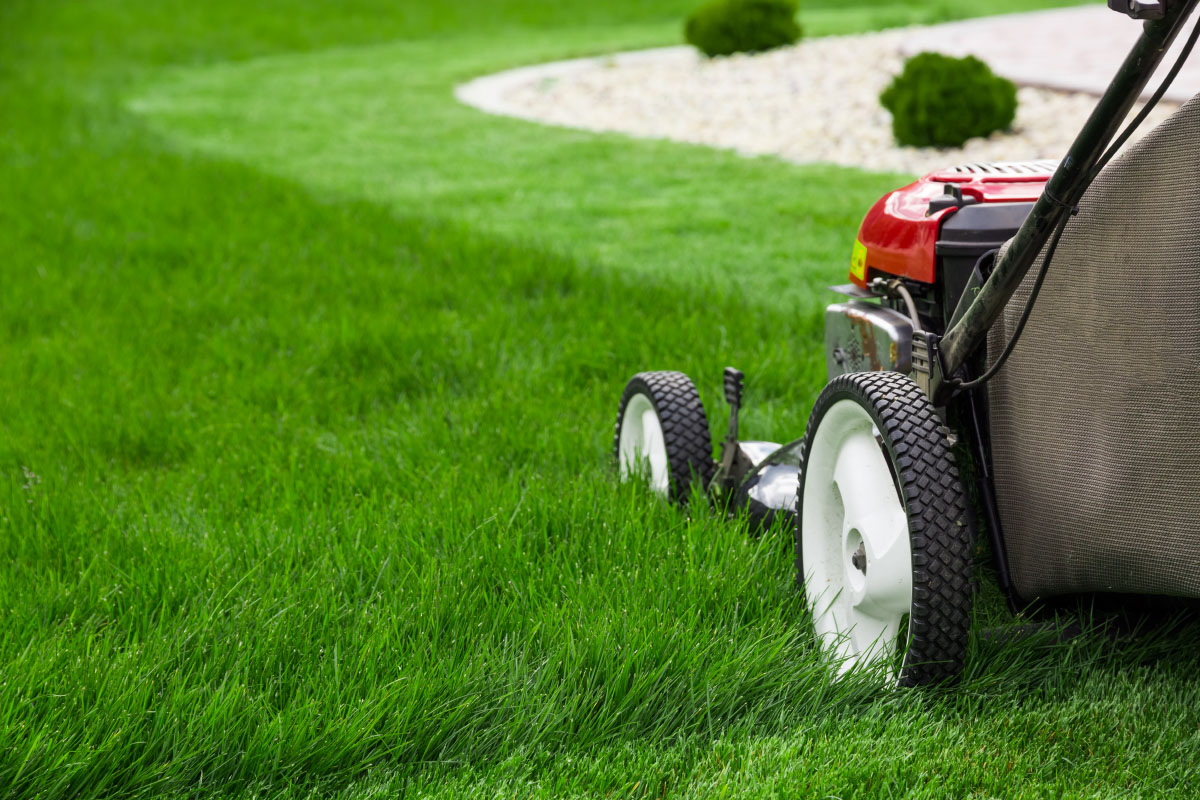
In summer, the first mow will typically be necessary within 1-2 weeks of your turf being laid. Cut on the highest setting, using sharp blades, taking off just the top of the grass. Cut regularly during spring, summer and autumn (gradually lowering the mower height). During the winter months, only cut the grass if it’s actually growing. Grass grows at a slower pace during the winter and your lawn may not need mowing until springtime.
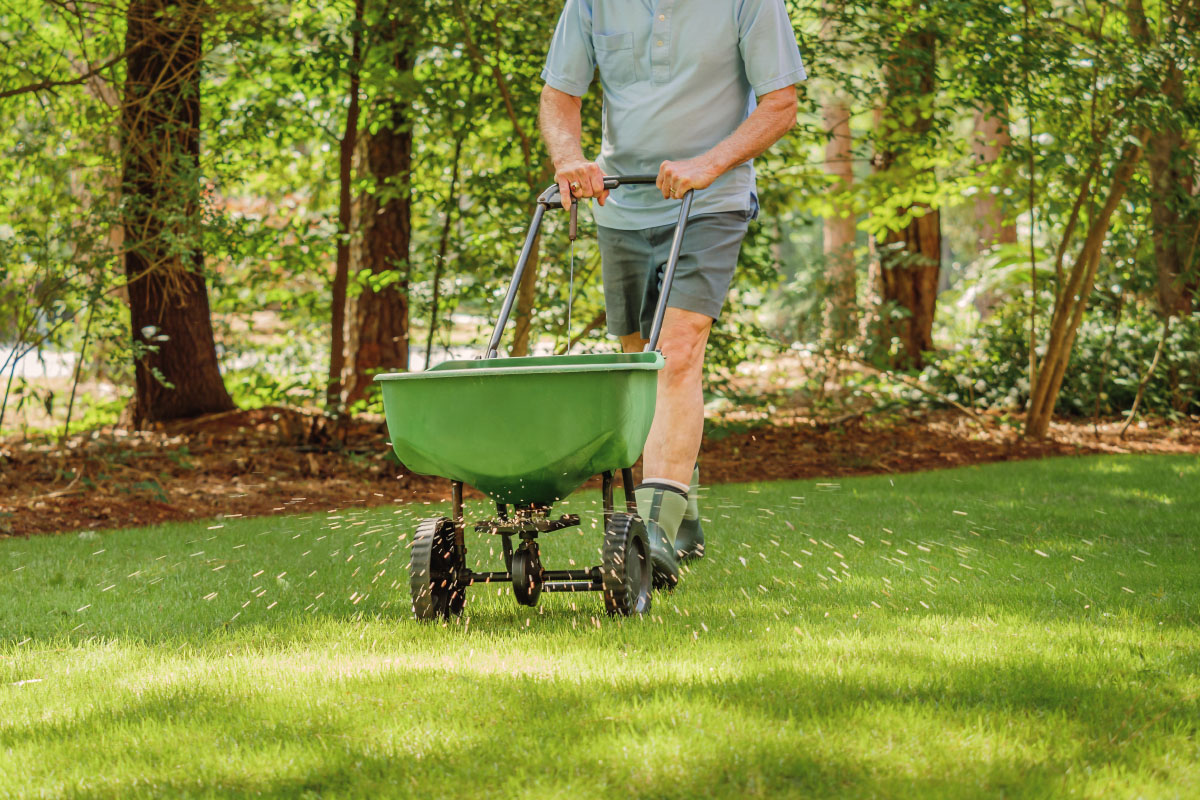
Feeding
For a beautiful, healthy lawn with vibrant green grass, feeding your turf is essential.
If you followed the earlier steps and used pre-turfing soil or added a pre-turfing fertiliser, your lawn won’t need feeding until 6-8 weeks after it was laid. Your lawn will then require feeding twice yearly, once in spring (with nitrogen rich lawn feed) and once in autumn (potash and phosphate rich fertiliser).
A final tip
For the first 3-4 weeks you should avoid frequent foot traffic on your new lawn, as the turf is at its most vulnerable when it’s establishing itself.
Happy turfing!